Gitlab Pipelines
Gitlab pipeline runners support multiple installation and runtime configurations. This guide will
create a very basic runner using the shell executor in order to avoid running docker-in-docker.
This guide provides both manual and automated setup instructions, skip to the bottom of the page for
the automation script.
You may find more in-depth information regarding Gitlab Runners at the following links:
Manual
Download and install the Gitlab runner application on your host
# Download the binary for your system
sudo curl -L --output /usr/local/bin/gitlab-runner https://gitlab-runner-downloads.s3.amazonaws.com/latest/binaries/gitlab-runner-linux-amd64

# Give it permission to execute
sudo chmod +x /usr/local/bin/gitlab-runner

# Create a GitLab Runner user
sudo useradd --comment 'GitLab Runner' --create-home gitlab-runner --shell /bin/bash

# Install and run as a service
sudo gitlab-runner install --user=gitlab-runner --working-directory=/home/gitlab-runner
sudo gitlab-runner start
Log in to Gitlab and navigate to the repo you want to create a runner for
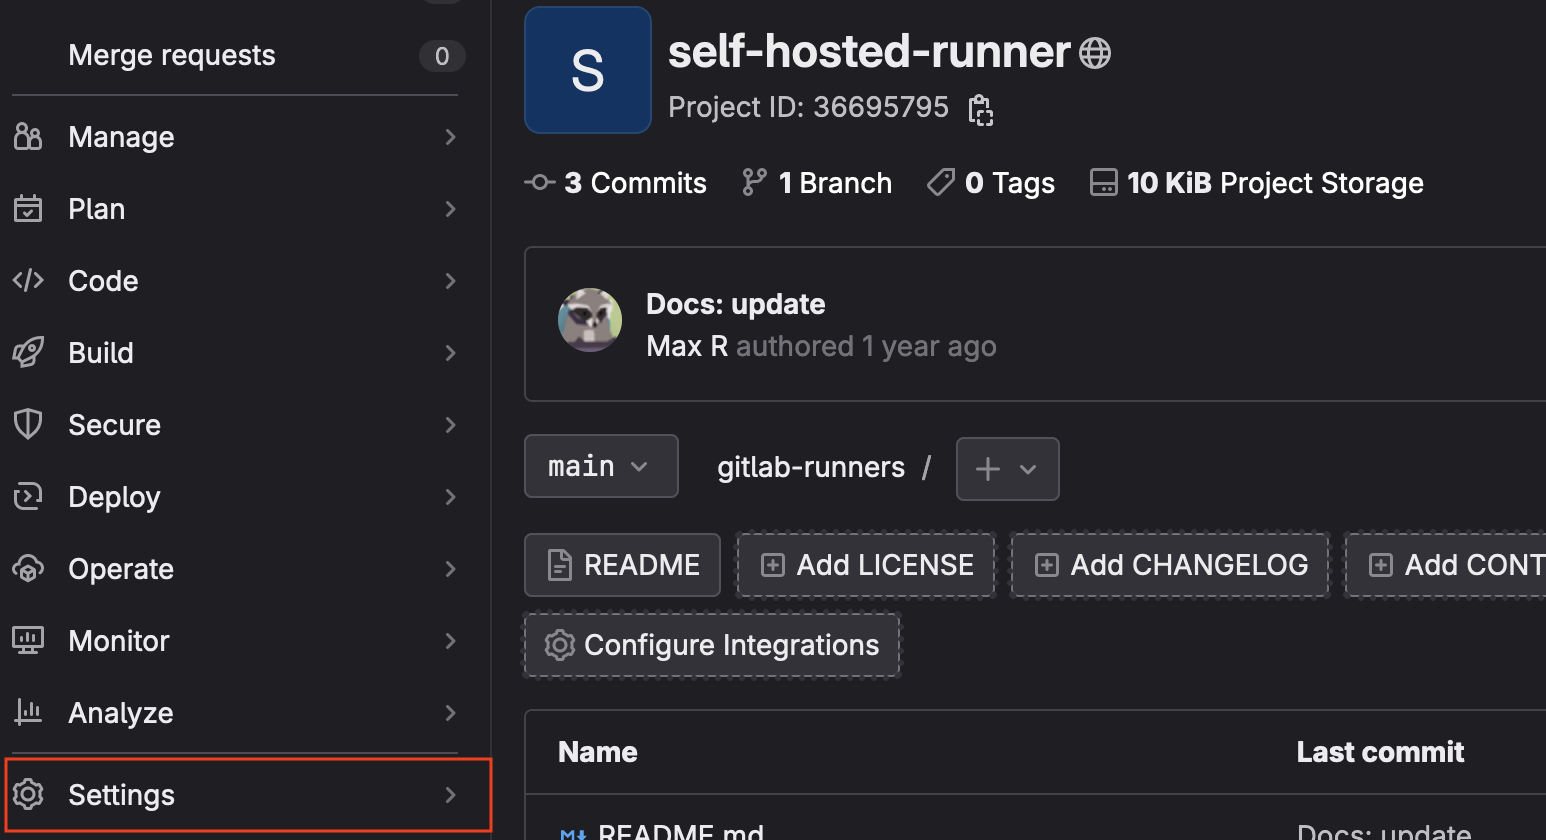
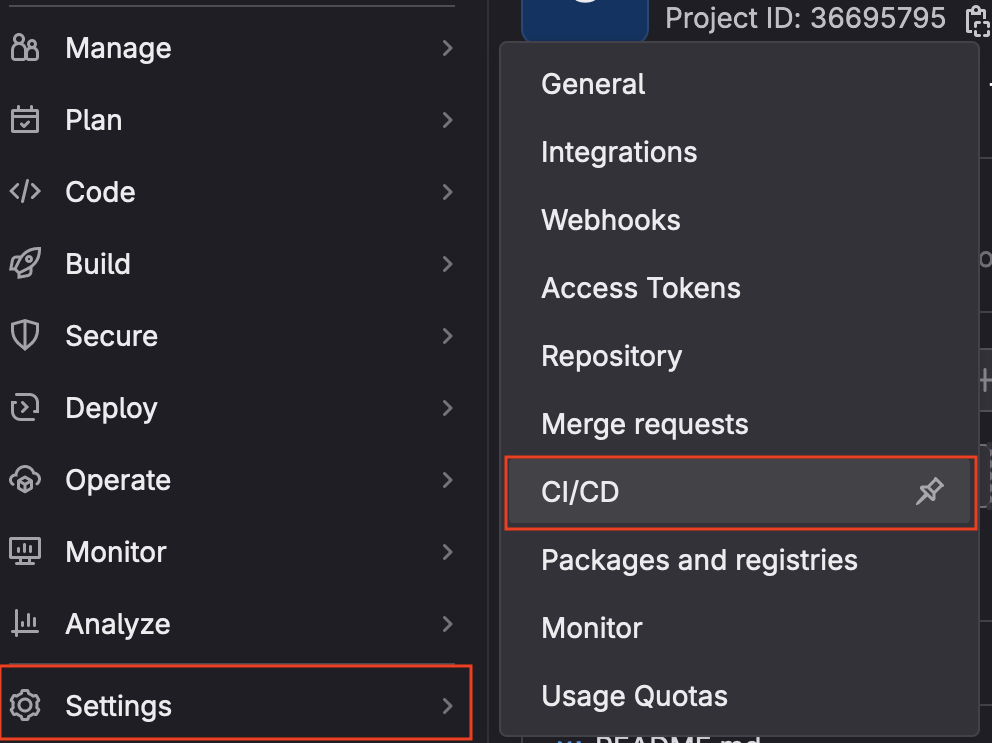
- From the menu on the left, select
Settingsthen chooseCI/CDfrom the pop-out list.
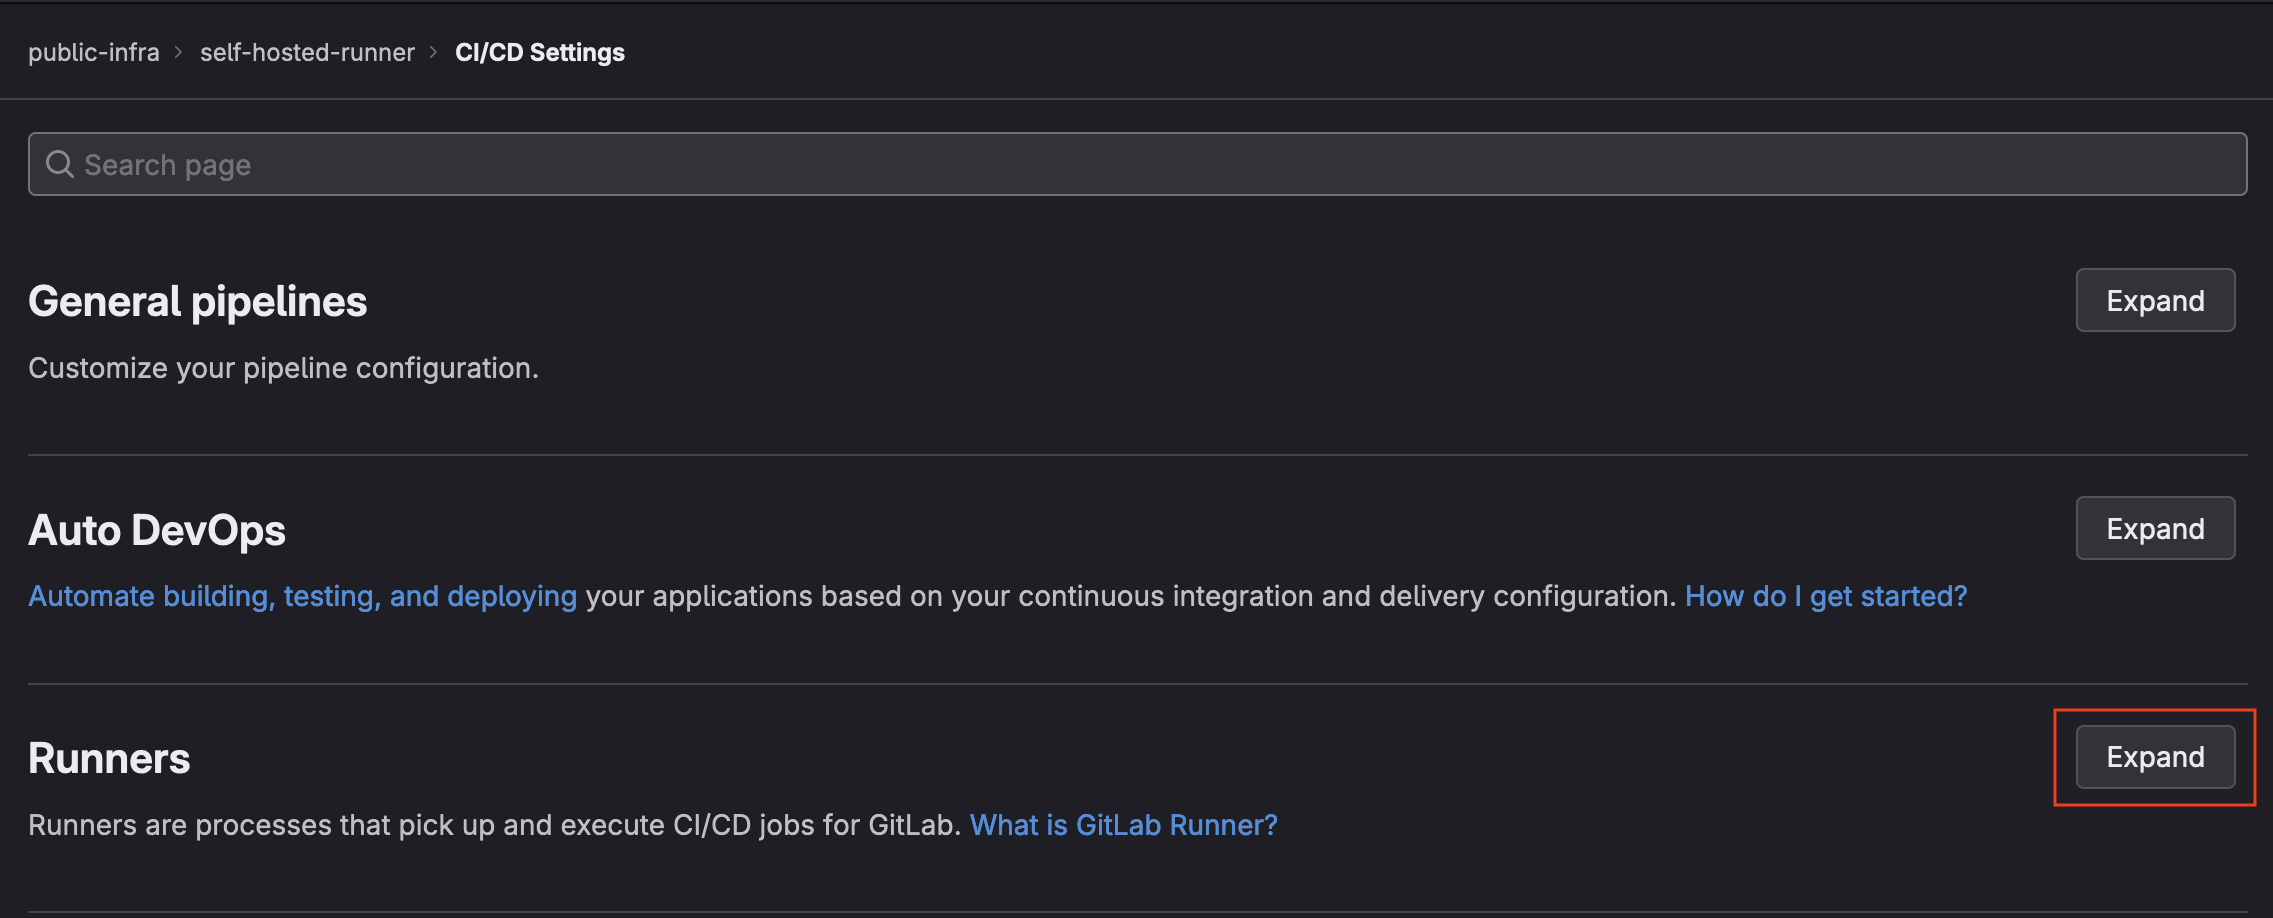
- Find the
Runnerssection and click theexpandbutton
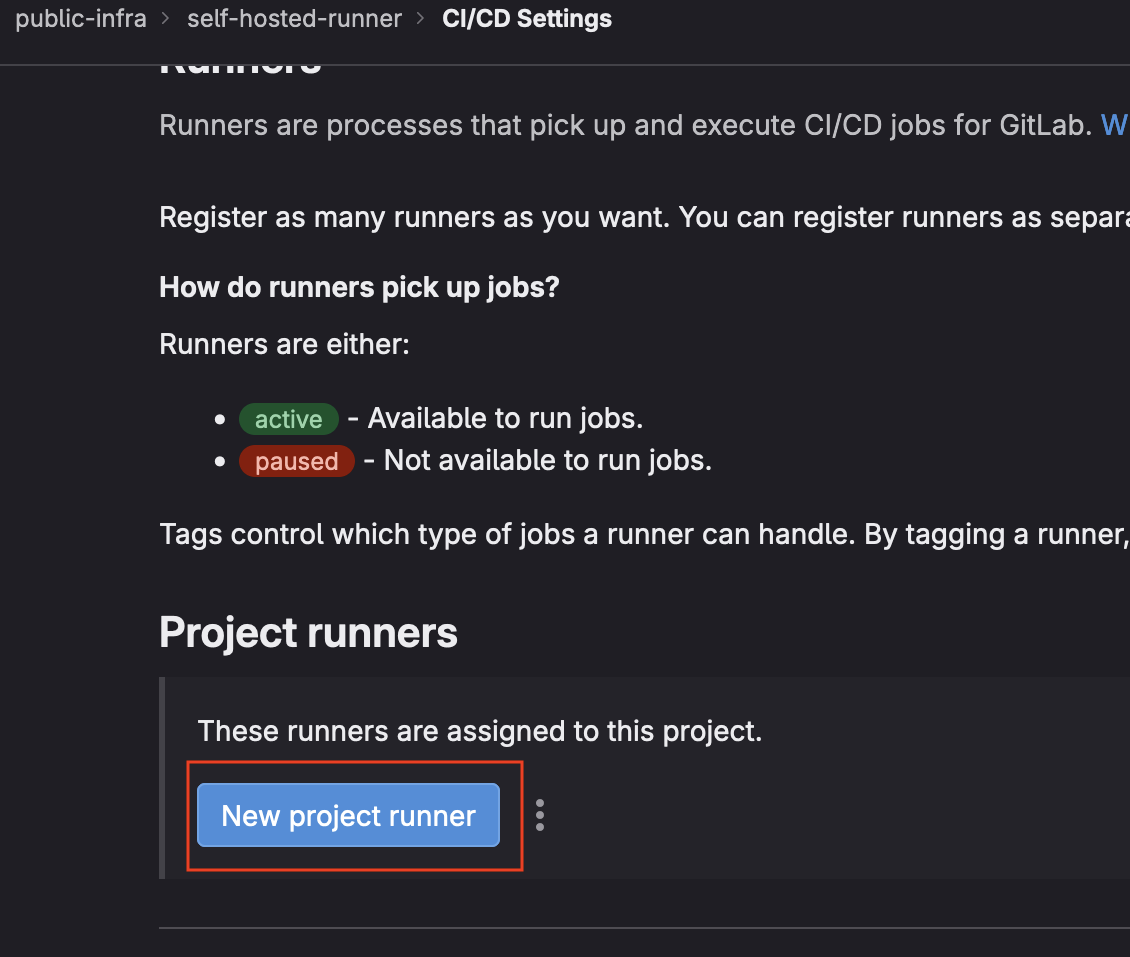
- Select
New Project Runner
- Choose
Linuxas the operating system

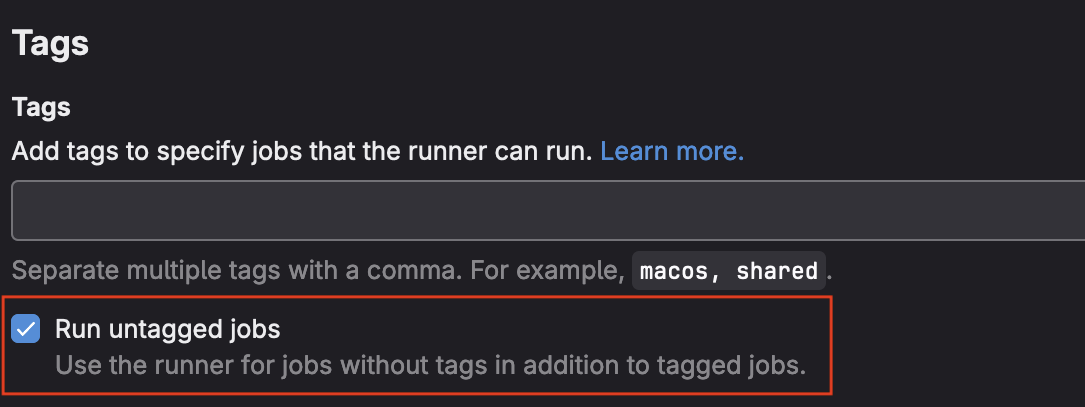
- Optionally, check the
Run untagged jobsbox if you would liek your runner to be the default for all jobs.
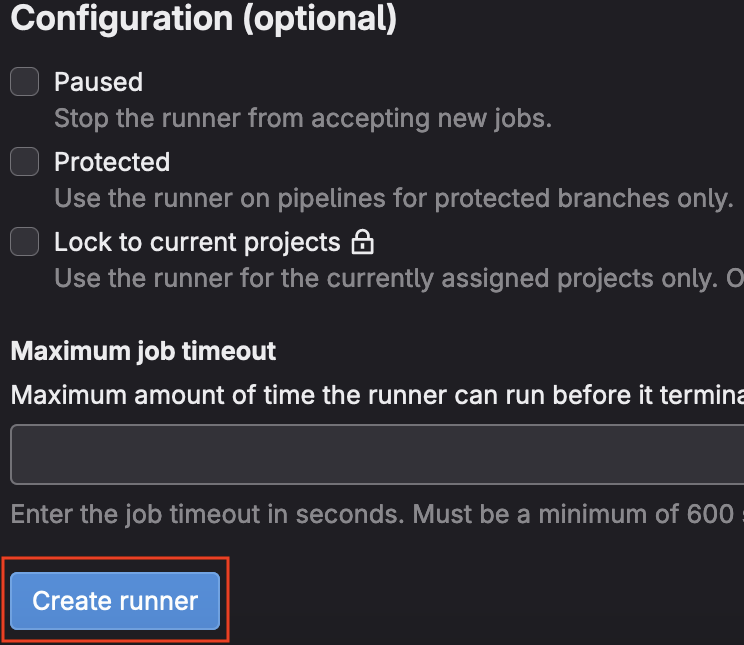
- Click the
Create Runnerbutton at the bottom of the page
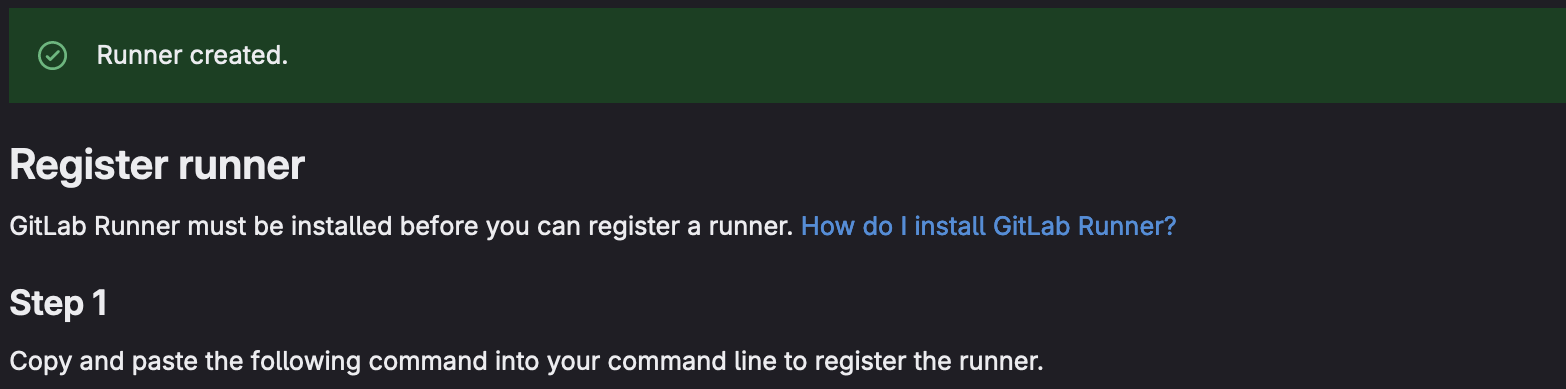
- Follow the instructions provided to register your runner
Automated
The following script will perform the same actions as described above automatically. This is usefull for those who would prefer ephemeral runners or to use a declarative workflow. You will need to provide your own project access-token to the script as an input value. For mor in-depth information see the following resources:
- Tutorial: Create, register, and run your own project runner
- Tutorial: Automate runner creation and registration
- Runner Executors
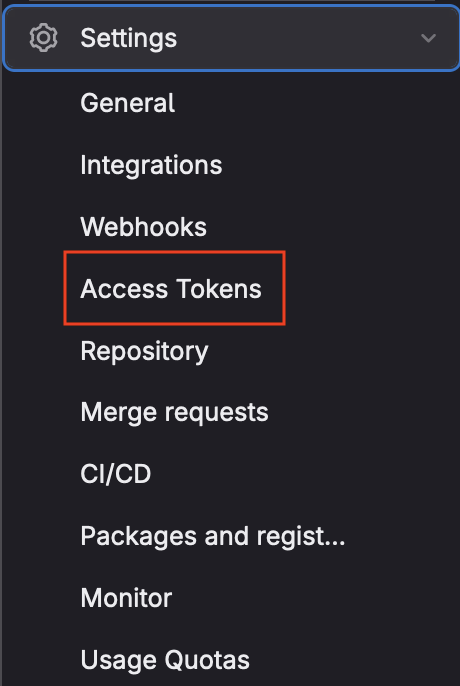
- From the main page of your Gitlab repository, select the
Settingsoption from the menu on the left.
- Select the
Access Tokensmenu
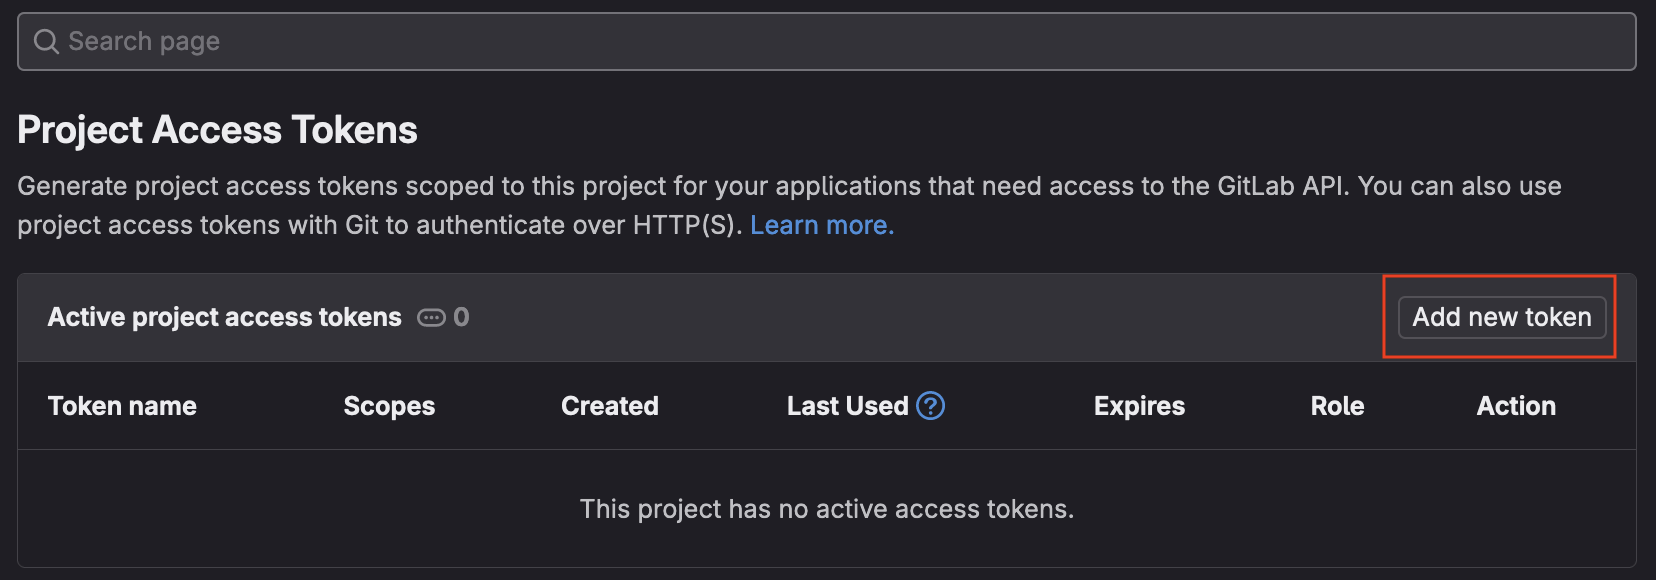
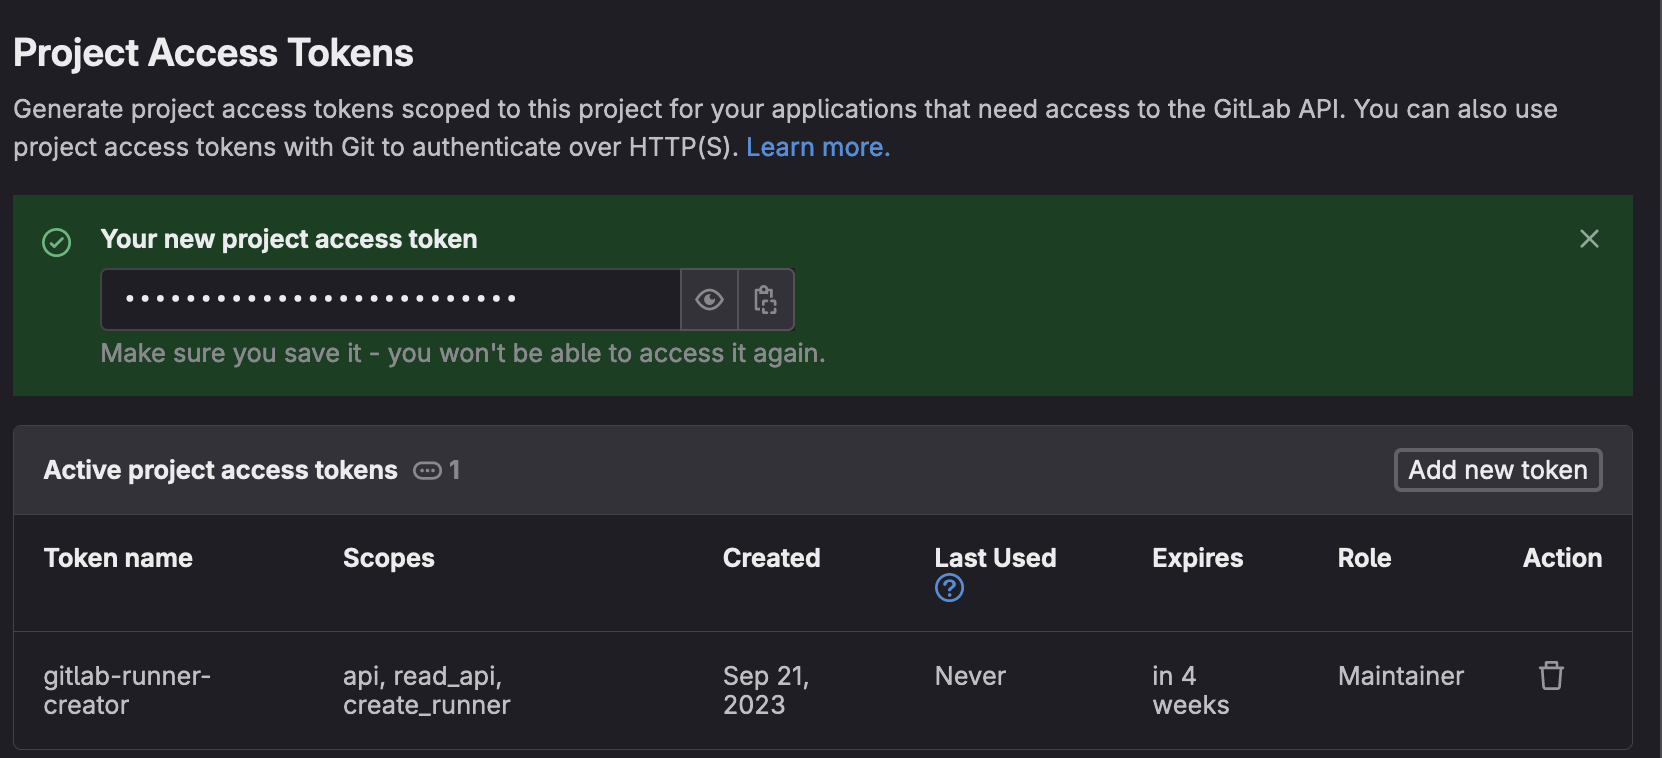
- Select
Add new token
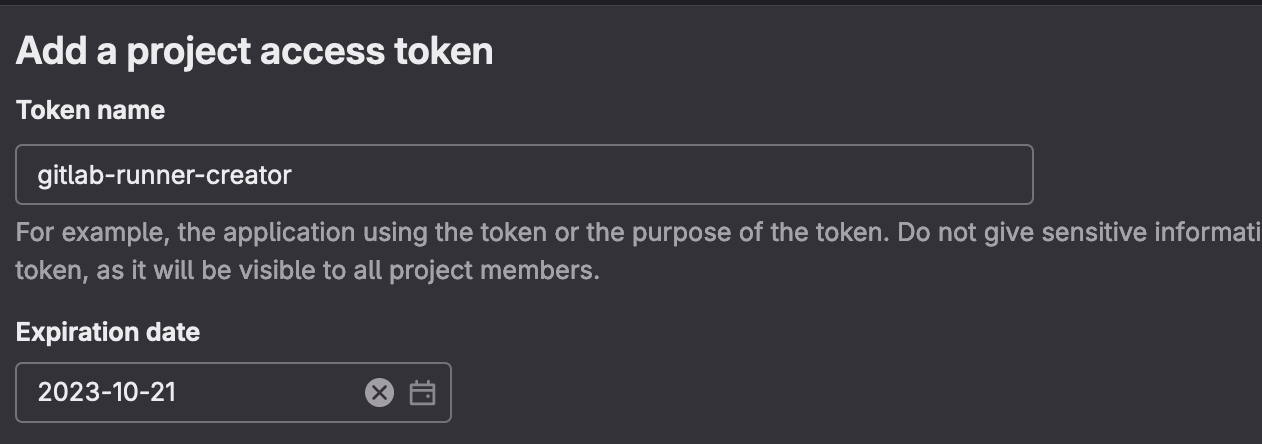
- Give the new token a name and expiration date
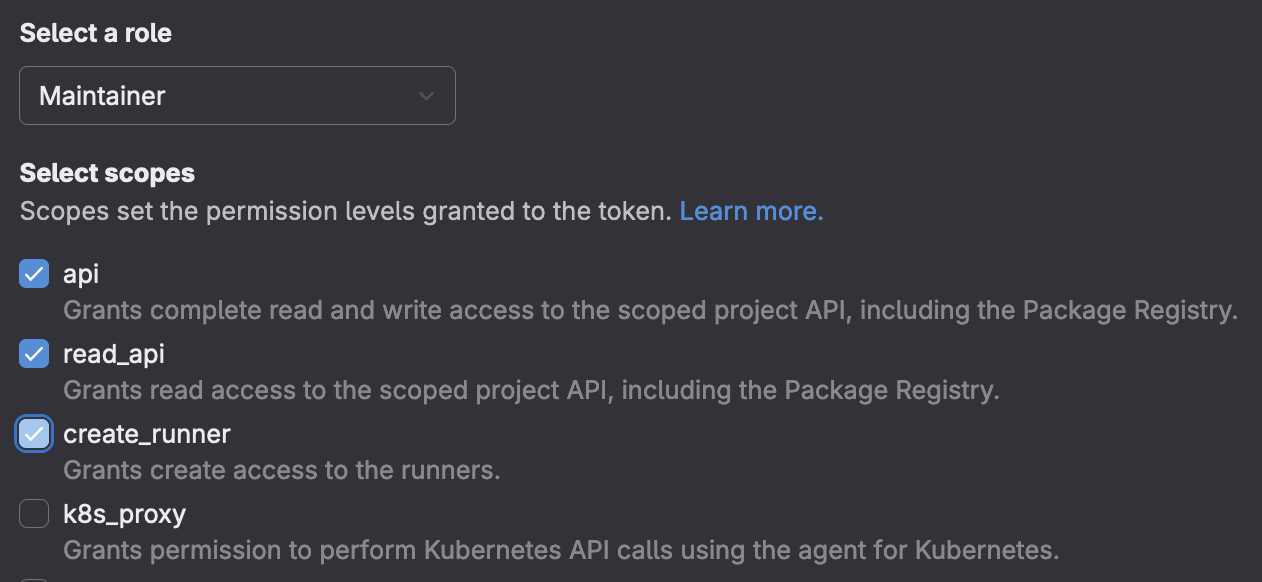
- Set the following role and scopes for the token:
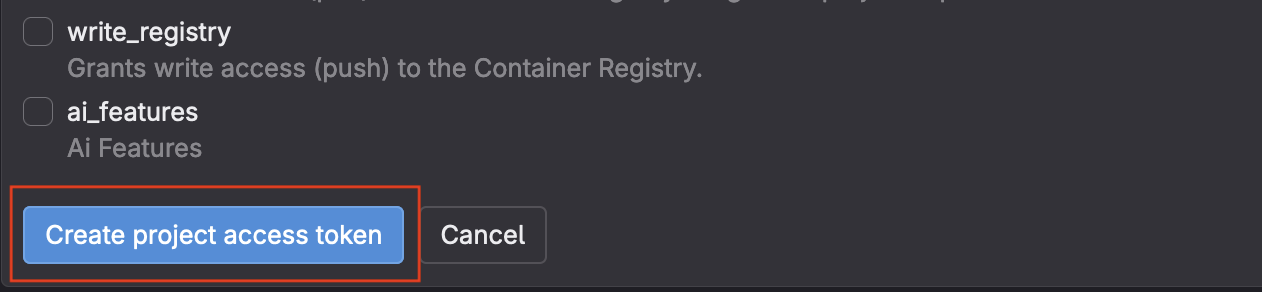
- Click the
Create Tokenbutton
- Save the token string somewhere secure
Copy and paste the following into your terminal to create the script
/usr/bin/cat << 'EOF' > runner.sh
#!/bin/bash

export DOWNLOAD_URL="https://gitlab-runner-downloads.s3.amazonaws.com/latest/deb/gitlab-runner_amd64.deb"

curl -LJO "${DOWNLOAD_URL}"
sudo dpkg -i gitlab-runner_amd64.deb

export GITLAB_URL=$1
export PROJECT_ID=$2
export GITLAB_TOKEN=$3

RETURN=$(curl --silent --request POST --url "$GITLAB_URL/api/v4/user/runners" \
  --data "runner_type=project_type" \
  --data "project_id=$PROJECT_ID" \
  --data "description=gameci runner" \
  --data "tag_list=" \
  --header "PRIVATE-TOKEN: $GITLAB_TOKEN")

TOKEN=$(echo $RETURN |jq -r '.token')

sudo gitlab-runner register \
  --non-interactive \
  --name "gameci-runner" \
  --url "$GITLAB_URL" \
  --token "$TOKEN" \
  --executor "shell" \
  --docker-image ubuntu:latest

sudo usermod -aG docker gitlab-runner
EOF
Run the script as follows:
bash ./runner.sh <gitlab-url> <project-id> <project-token>