MacOS
For MacOS guests, we will utilize the open-source project OSX-KVM which will help you create a Virtual Hackintosh. Such a system can be used for a variety of purposes (e.g. software builds, testing, reversing work) However, such a system lacks graphical acceleration, a reliable sound sub-system, USB 3 functionality and other similar things. To enable these things, take a look their notes. Older AMD CPU(s) are known to be problematic but modern AMD Ryzen processors work just fine.
A note on the legality of Hackintosh systems
From Legality of Hackintoshing by OpenCore:
Hackintoshing sits in a legal grey area, mainly that while this is not illegal it does in fact break the EULA. It is however not expressly Illegal as long as you abide by the following conditions:
- You are downloading MacOS from Apple's servers directly
- You are a non-profit organization, or using your hackintosh for educational and personal purposes.
Users who plan to use their Hackintosh for professional or commercial purposes should refer to the Psystar case as well as their regional laws. This is not legal advice, consult a licensed attorney if you have further questions.
VM Setup
Clone the repo and cd into the new directory
git clone --depth 1 --recursive https://github.com/kholia/OSX-KVM.git
cd OSX-KVM
Configure the Virtual Machine options
# The name of the Virtual Machine
export VM_NAME="gameci"

# Number of physical CPU cores to allocate to the VM
export PHYSICAL_CORES="2"

# Number of threads per core.
# Set this to `1` for CPUs that do not support hyper-threading
export THREADS="1"
export SMP=$(( $PHYSICAL_CORES * $THREADS ))

# MacOS uses much more disk space than Linux or windows due to Xcode tools etc...
# A minimum of 64G is advised.
export DISK_SIZE="64G"

# Amount of RAM to allocate to the VM.
# Cannot exceed available RAM on host.
export MEMORY="8G"

# IP address where host may be reached. Do not use `localhost`.
export HOST_ADDRESS="SOME IP HERE"

# Port used by SSH on the host
export HOST_SSH_PORT="22"

# Port to use when forwarding SSH to the VM
export VM_SSH_PORT="1234"

# Port number to expose on the host for VNC
export VNC_PORT="0"
Download an Installer
Choose and download an installer using the included script
./fetch-macOS-v2.py
# 1. High Sierra (10.13)
# 2. Mojave (10.14)
# 3. Catalina (10.15)
# 4. Big Sur (11.7)
# 5. Monterey (12.6)
# 6. Ventura (13) - RECOMMENDED
# 7. Sonoma (14)
# Choose a product to download (1-6): 6
Convert the downloaded BaseSystem.dmg file into the BaseSystem.img file.
sudo apt-get install -y dmg2img && \
dmg2img -i BaseSystem.dmg BaseSystem.img
Create a virtual disk image where MacOS will be installed.
qemu-img create -f qcow2 mac_hdd_ng.img $DISK_SIZE &>/dev/null
Create the VM
Create new guest
sudo qemu-system-x86_64 \
  -machine accel=kvm,type=q35 \
  -cpu Penryn,kvm=on,vendor=GenuineIntel,+invtsc,vmware-cpuid-freq=on,+ssse3,+sse4.2,+popcnt,+avx,+aes,+xsave,+xsaveopt,check \
  -smp $SMP,sockets=1,cores="$PHYSICAL_CORES",threads="$THREADS",maxcpus=$SMP \
  -m "$MEMORY" \
  -device usb-ehci,id=ehci \
  -device nec-usb-xhci,id=xhci \
  -global nec-usb-xhci.msi=off \
  -device isa-applesmc,osk="ourhardworkbythesewordsguardedpleasedontsteal(c)AppleComputerInc" \
  -drive if=pflash,format=raw,readonly=on,file="OVMF_CODE.fd" \
  -drive if=pflash,format=raw,file="OVMF_VARS-1024x768.fd" \
  -smbios type=2 \
  -device ich9-intel-hda -device hda-duplex \
  -device ich9-ahci,id=sata \
  -drive id=OpenCoreBoot,if=none,snapshot=on,format=qcow2,file="OpenCore/OpenCore.qcow2" \
  -device ide-hd,bus=sata.2,drive="OpenCoreBoot" \
  -device ide-hd,bus=sata.3,drive="InstallMedia" \
  -drive id=InstallMedia,if=none,file="BaseSystem.img",format=raw \
  -object iothread,id=io \
  -device virtio-blk-pci,drive=MacHDD,iothread=io \
  -drive id=MacHDD,if=none,cache=none,format=qcow2,aio=threads,file="mac_hdd_ng.img" \
  -serial stdio -vga virtio -parallel none \
  -device virtio-net-pci,netdev=network \
  -usbdevice tablet \
  -device usb-kbd,bus=ehci.0 \
  -netdev user,id=network,hostfwd=tcp::"${VM_SSH_PORT}"-:"${HOST_SSH_PORT}" \
  -vnc "$HOST_ADDRESS":"$VNC_PORT"
Boot an existing guest
sudo qemu-system-x86_64 \
  -machine accel=kvm,type=q35 \
  -cpu Penryn,kvm=on,vendor=GenuineIntel,+invtsc,vmware-cpuid-freq=on,+ssse3,+sse4.2,+popcnt,+avx,+aes,+xsave,+xsaveopt,check \
  -smp $SMP,sockets=1,cores="$PHYSICAL_CORES",threads="$THREADS",maxcpus=$SMP \
  -m "$MEMORY" \
  -device usb-ehci,id=ehci \
  -device nec-usb-xhci,id=xhci \
  -global nec-usb-xhci.msi=off \
  -device isa-applesmc,osk="ourhardworkbythesewordsguardedpleasedontsteal(c)AppleComputerInc" \
  -drive if=pflash,format=raw,readonly=on,file="OVMF_CODE.fd" \
  -drive if=pflash,format=raw,file="OVMF_VARS-1024x768.fd" \
  -smbios type=2 \
  -device ich9-intel-hda -device hda-duplex \
  -device ich9-ahci,id=sata \
  -drive id=OpenCoreBoot,if=none,snapshot=on,format=qcow2,file="OpenCore/OpenCore.qcow2" \
  -device ide-hd,bus=sata.2,drive="OpenCoreBoot" \
  -object iothread,id=io \
  -device virtio-blk-pci,drive=MacHDD,iothread=io \
  -drive id=MacHDD,if=none,cache=none,format=qcow2,aio=threads,file="mac_hdd_ng.img" \
  -serial stdio -vga virtio -parallel none \
  -device virtio-net-pci,netdev=network \
  -usbdevice tablet \
  -device usb-kbd,bus=ehci.0 \
  -netdev user,id=network,hostfwd=tcp::"${VM_SSH_PORT}"-:"${HOST_SSH_PORT}" \
  -vnc "$HOST_ADDRESS":"$VNC_PORT"
Connect to the VM using VNC.
In your VNC software use the address format
$HOST_ADDRESS:$VNC_PORTto connect to the VM.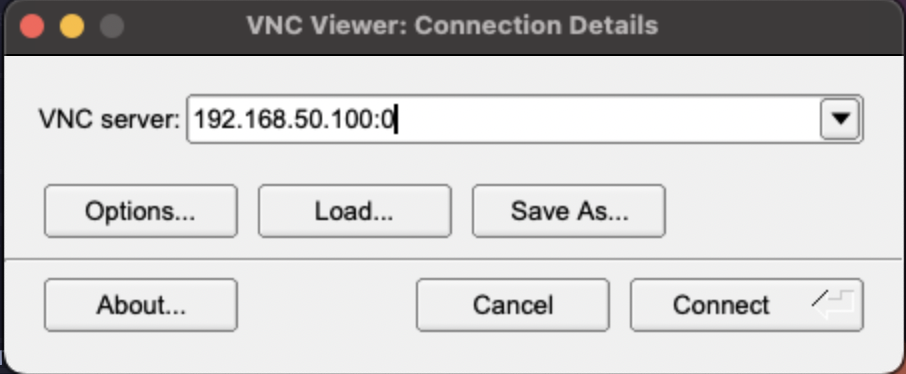
Format Virtual Drive
Select install media
Choose the 'macOS Base System' option using arrow-keys to select and enter to confirm.
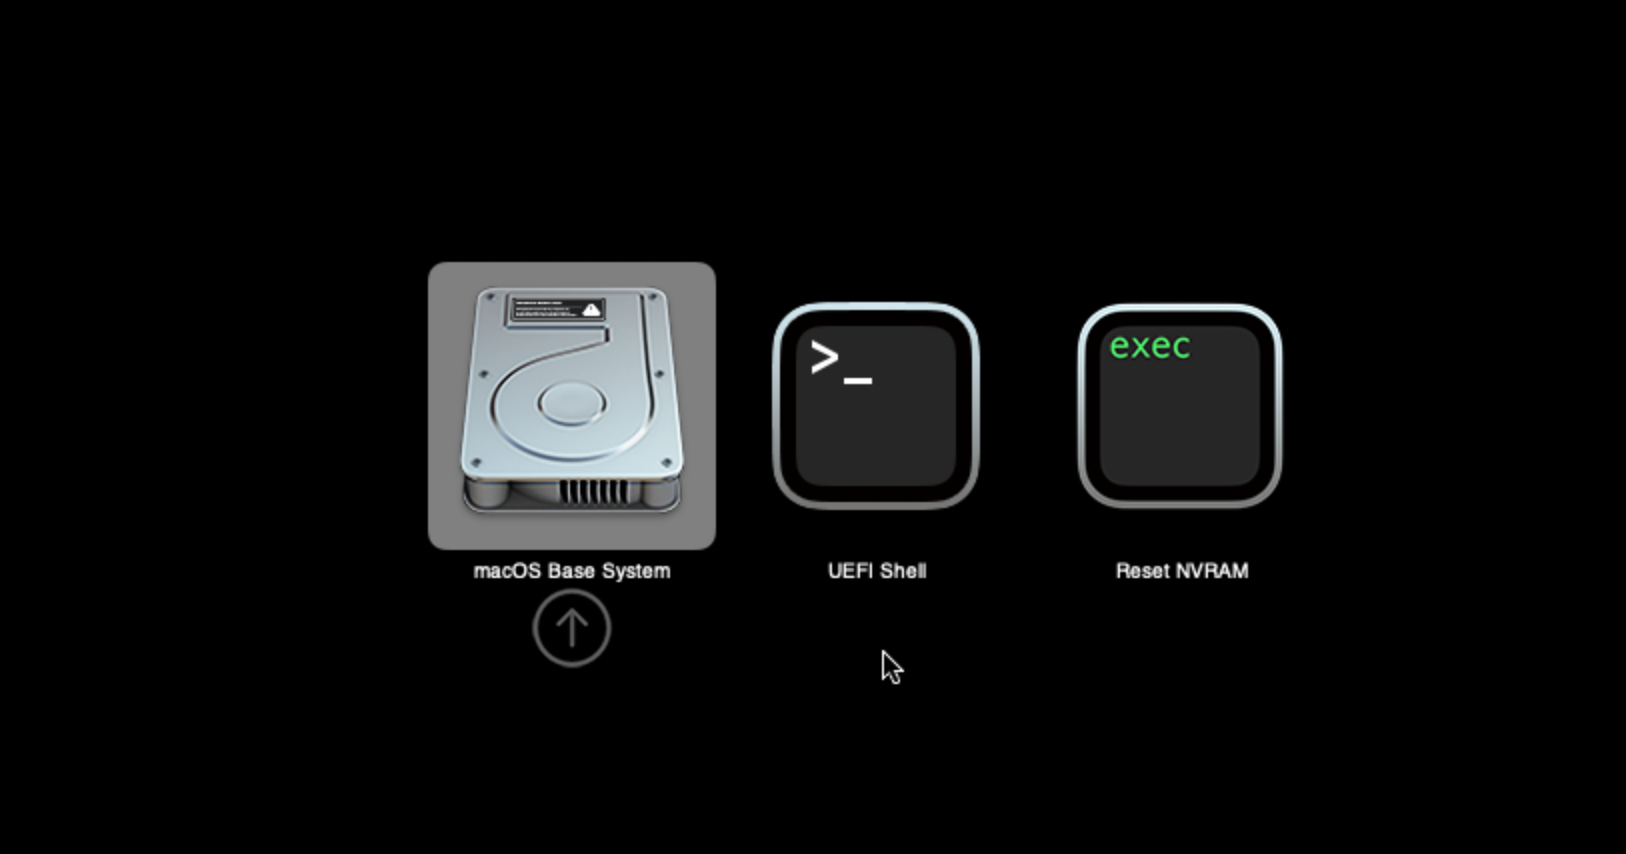
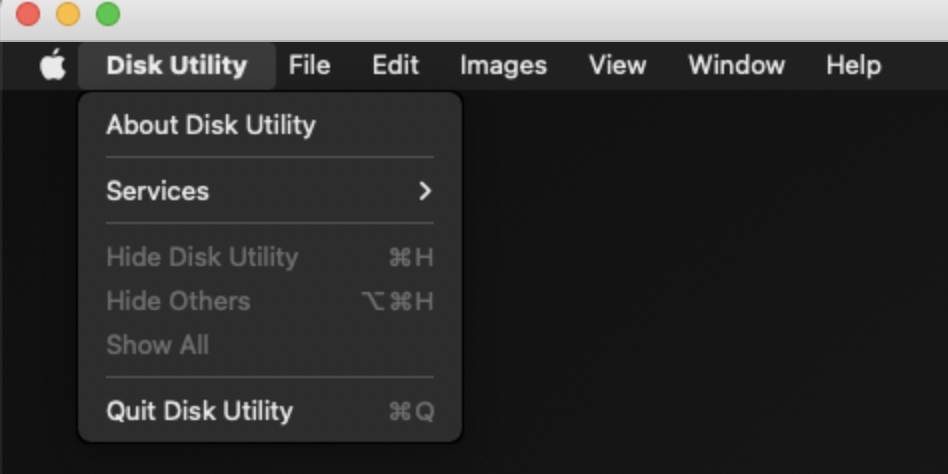
Enter the disk utility
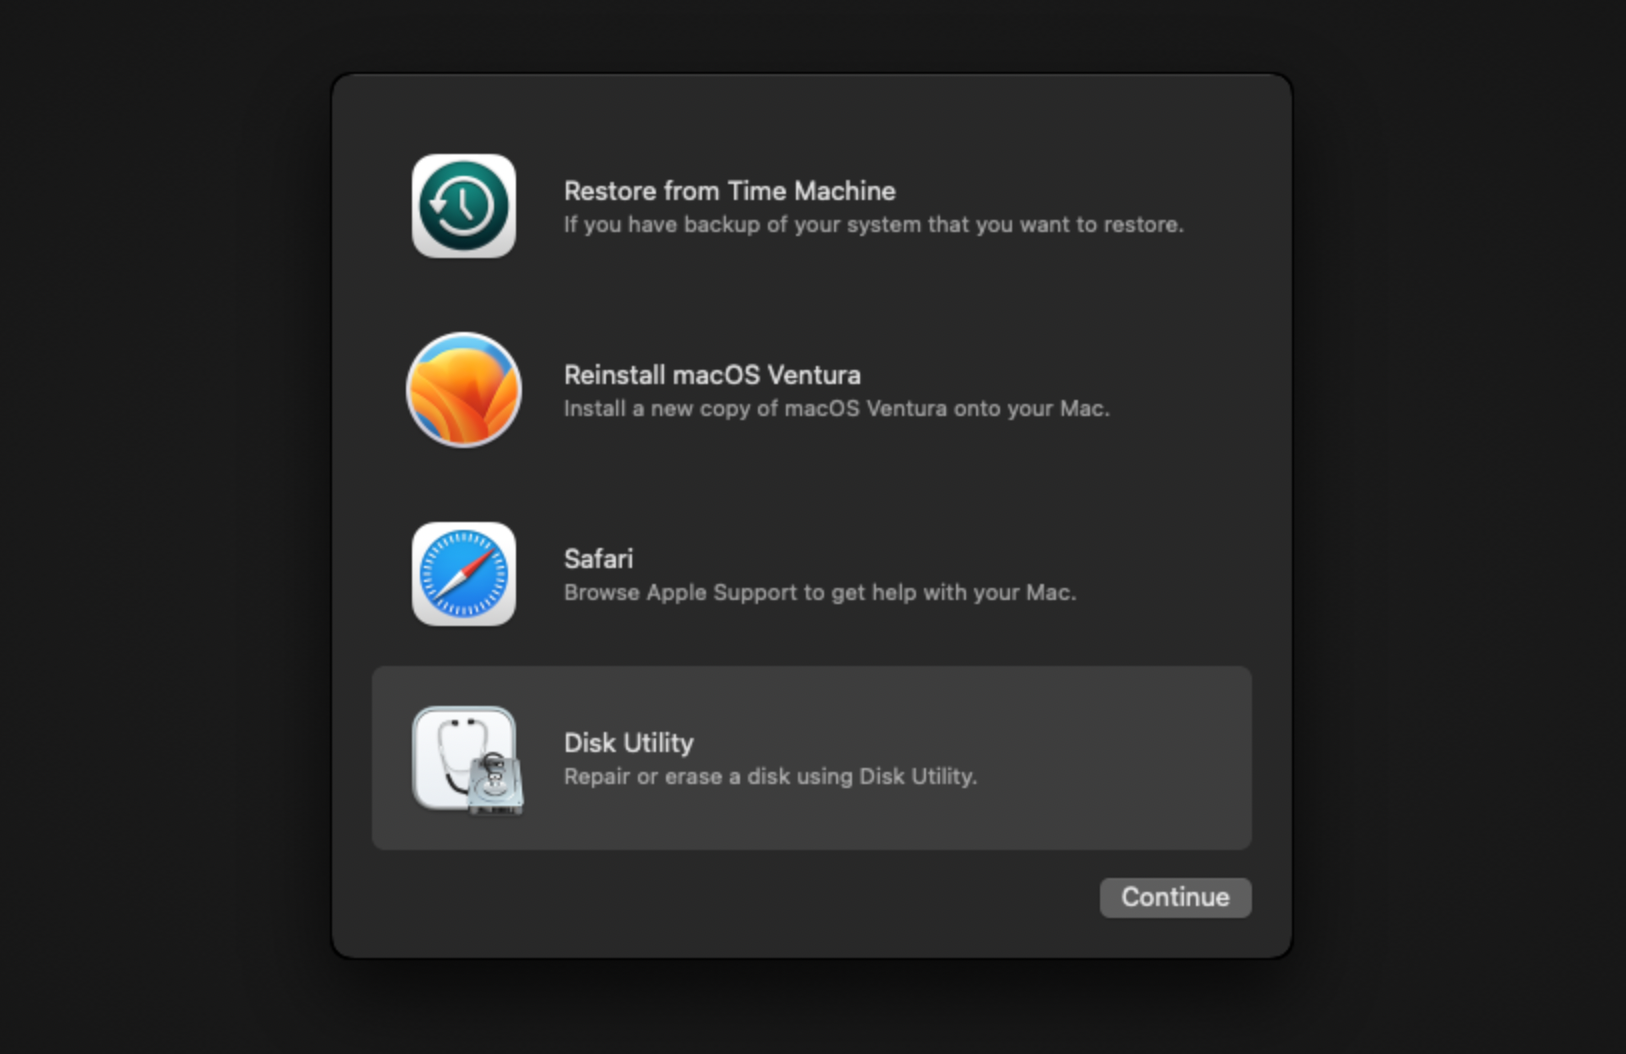
Format and rename the empty storage volumes
The disk should show up as
Apple Inc. VirtIO Block Mediain your Disk Utility window. Select theErasetool to reformat the volumes and change the name toMacintosh HD.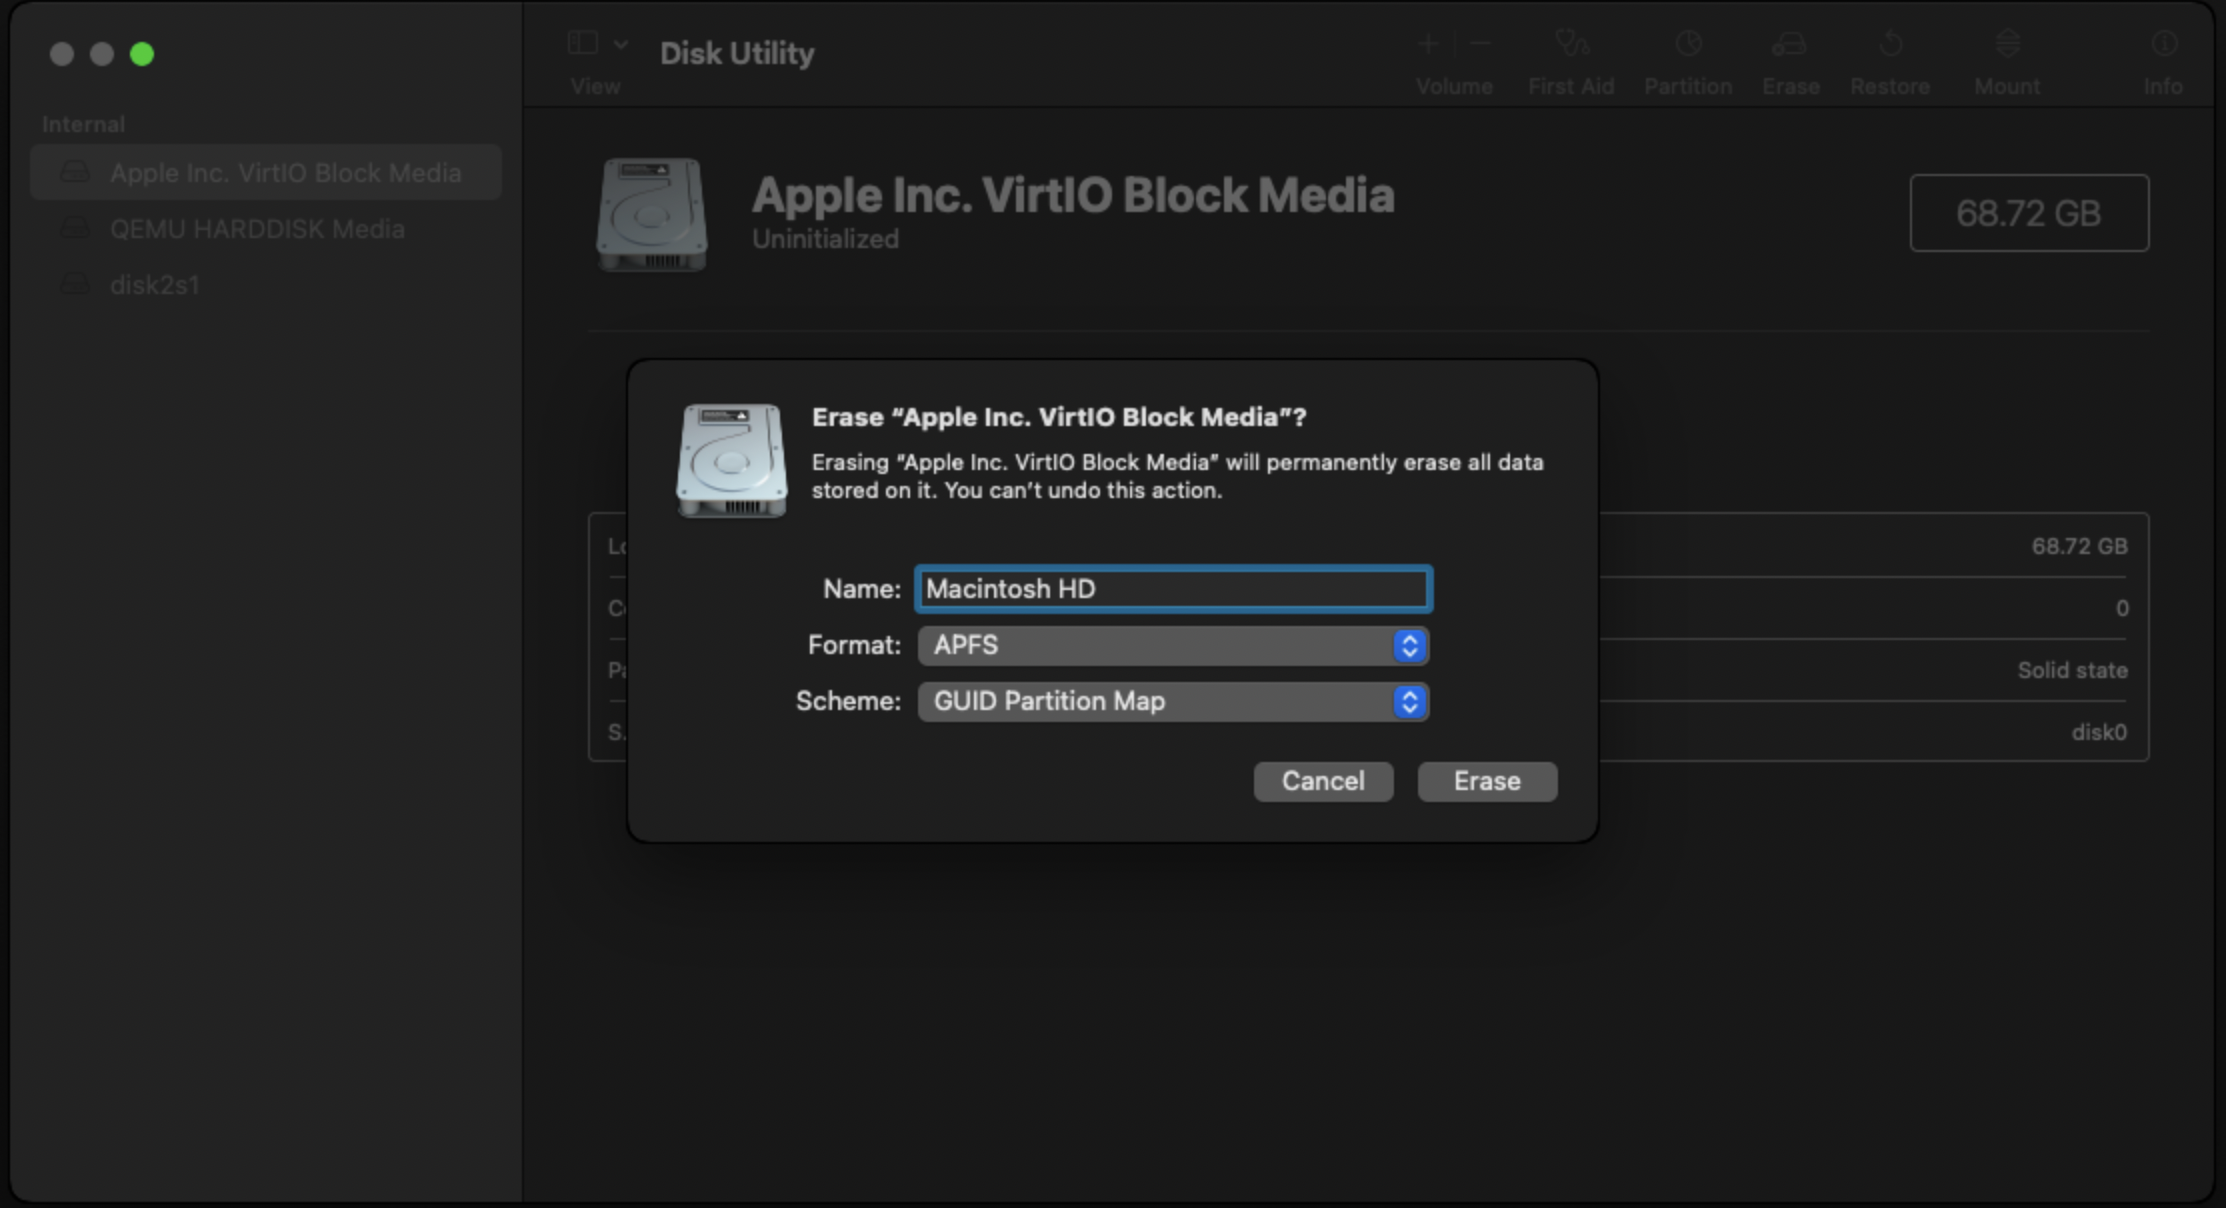
Quit the disk utility
Install MacOS
Choose the
Reinstall MacOSoption from the main menu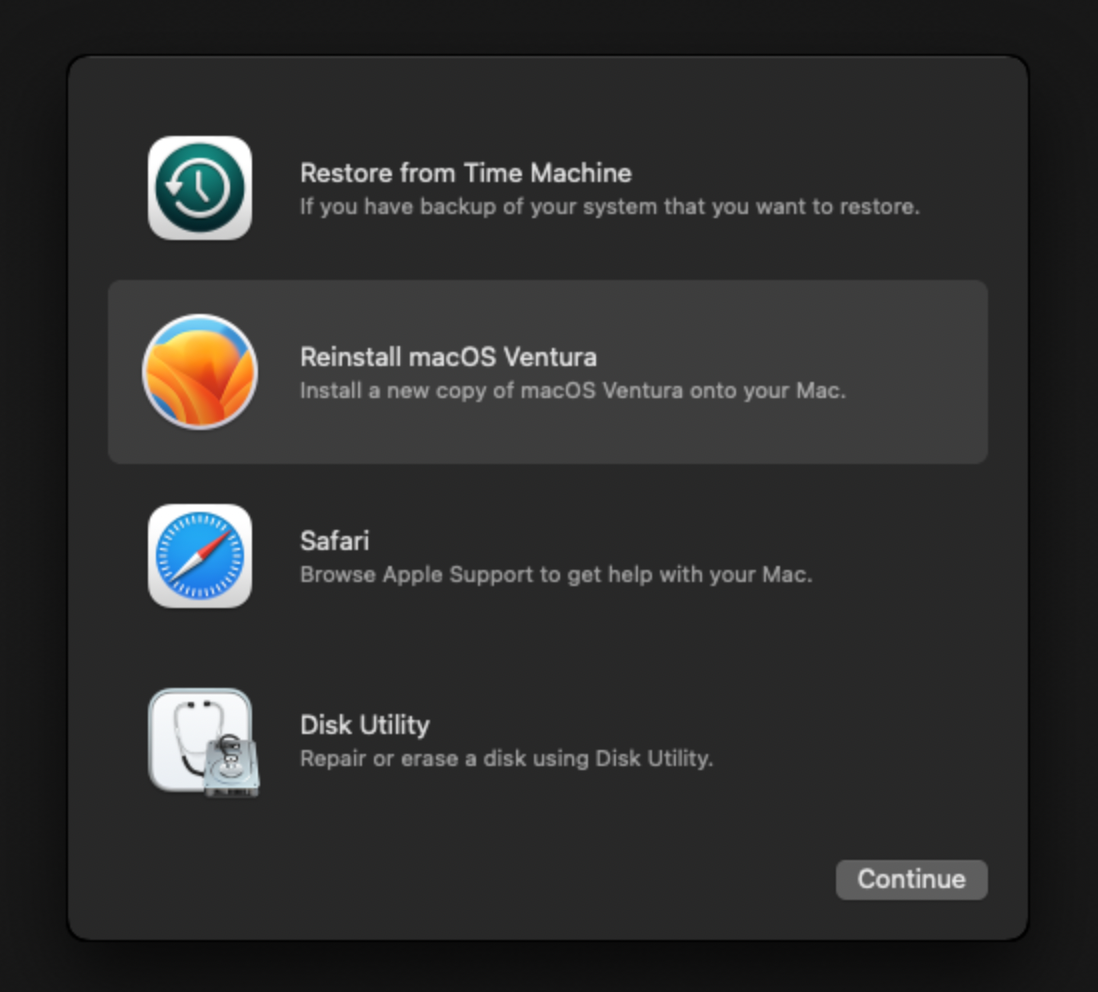
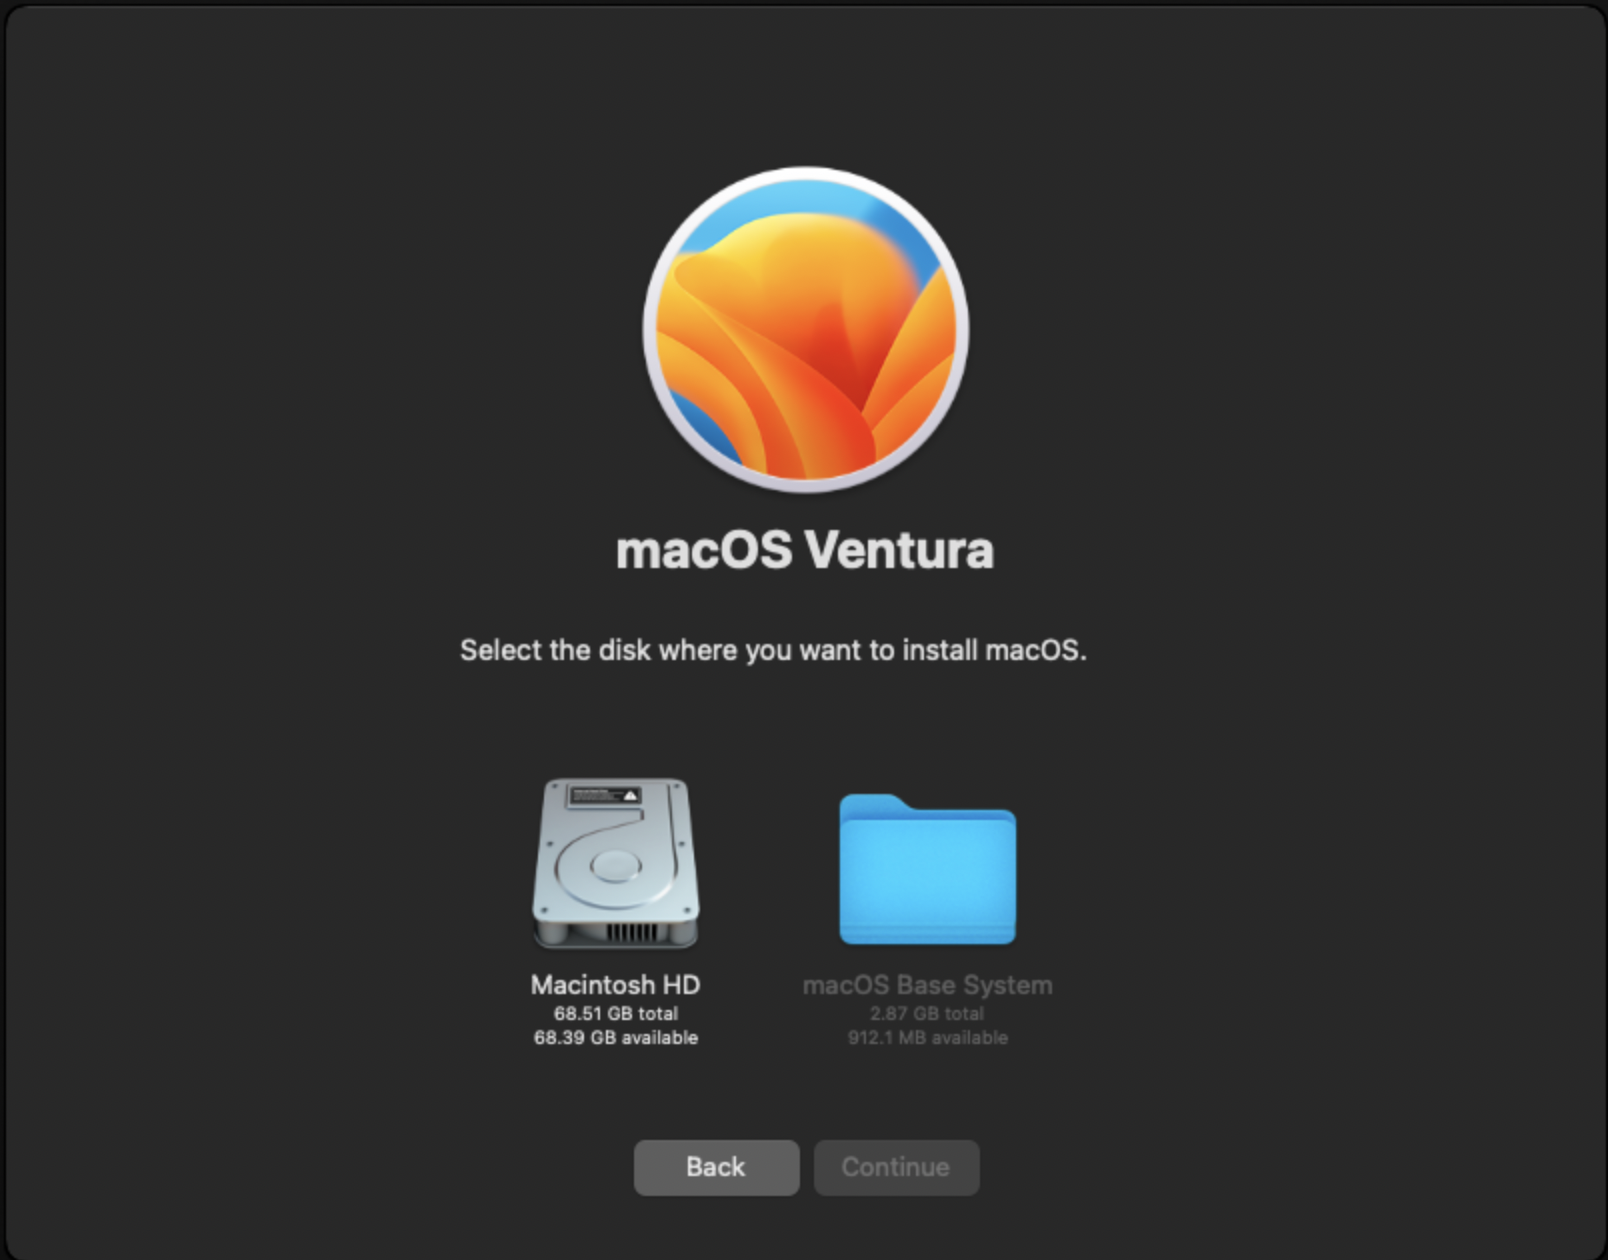
Choose your formatted volumes as the install location
Monitor the install process
The VM will reboot several times during the installation process. After the first reboot, you will have a new option named 'MacOS Installer'. Select this option as your boot device.

When the first stage of the installation has completed, the 'MacOS Installer' option will change to 'Macintosh HD' (or whatever you named your drive). Continue to select this option as the boot device for all subsequent reboots.

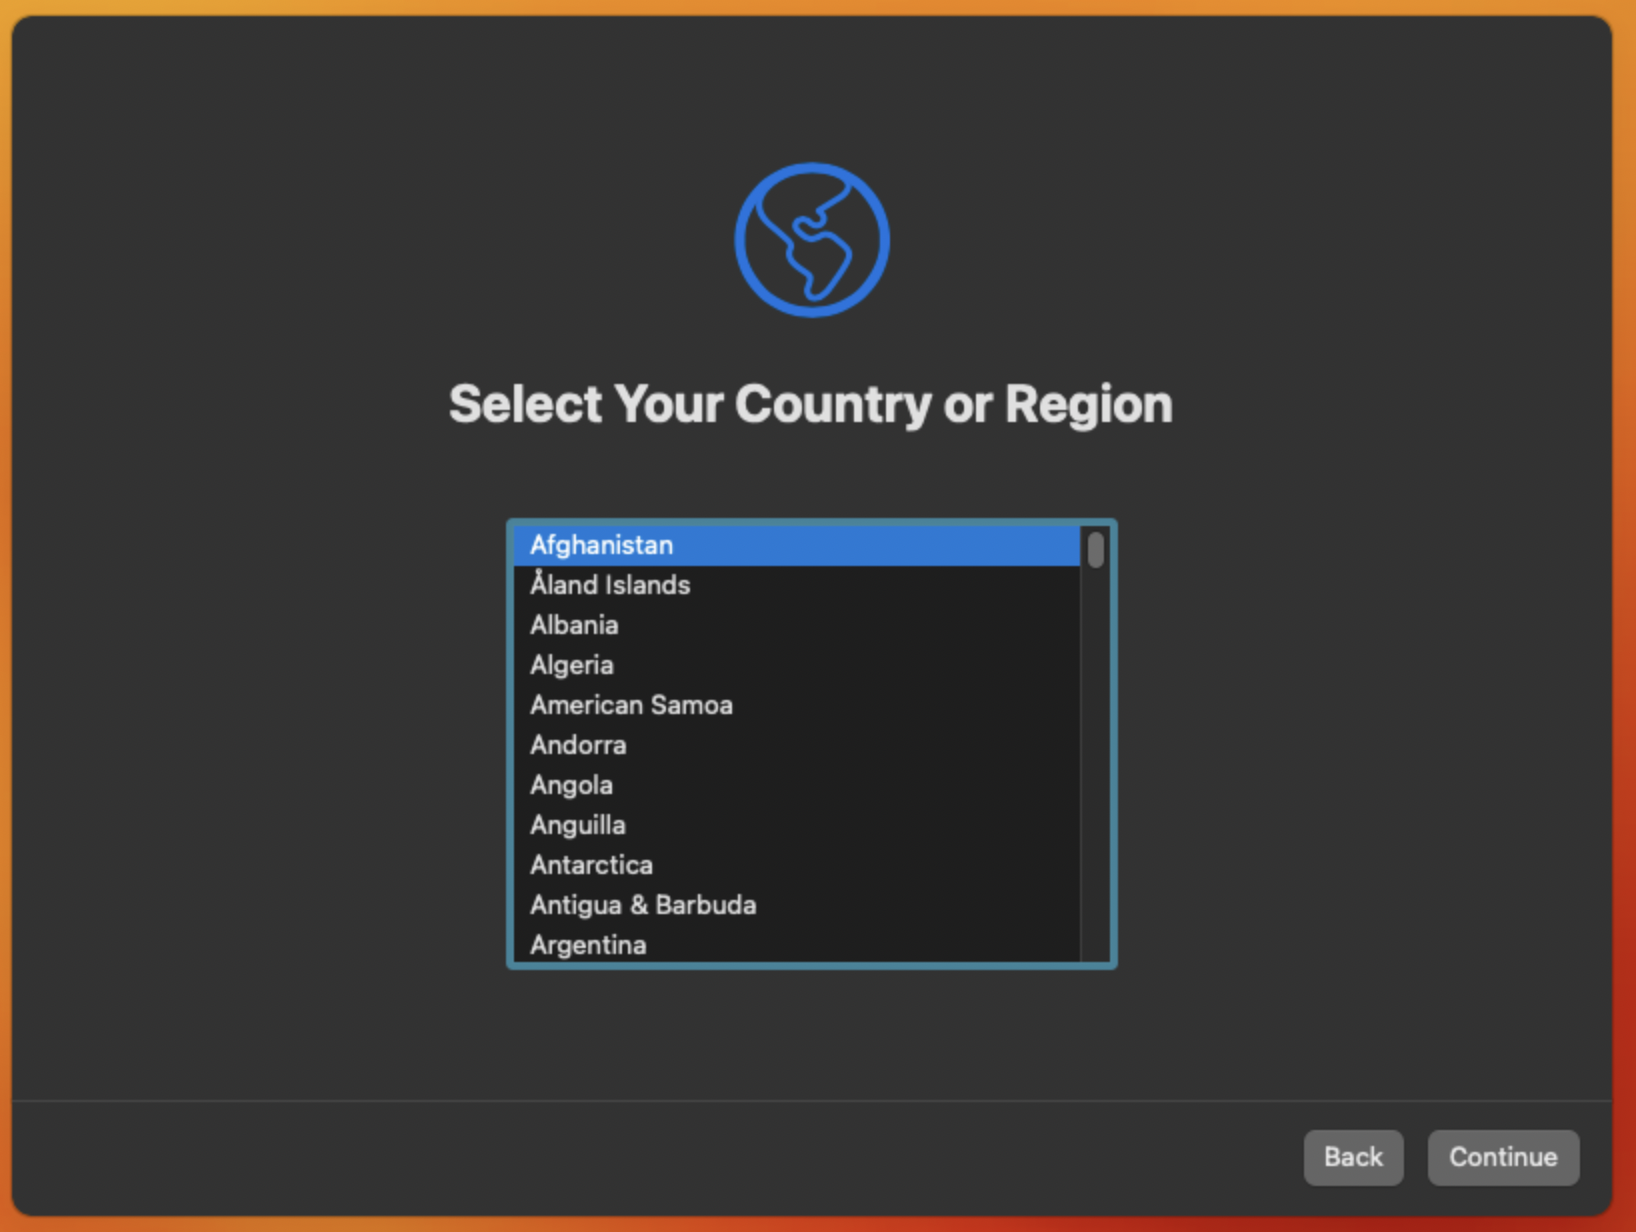
Boot into MacOS and complete the account creation process
Finally, your VM should boot into the MacOS user setup screen and allow you to create your account.
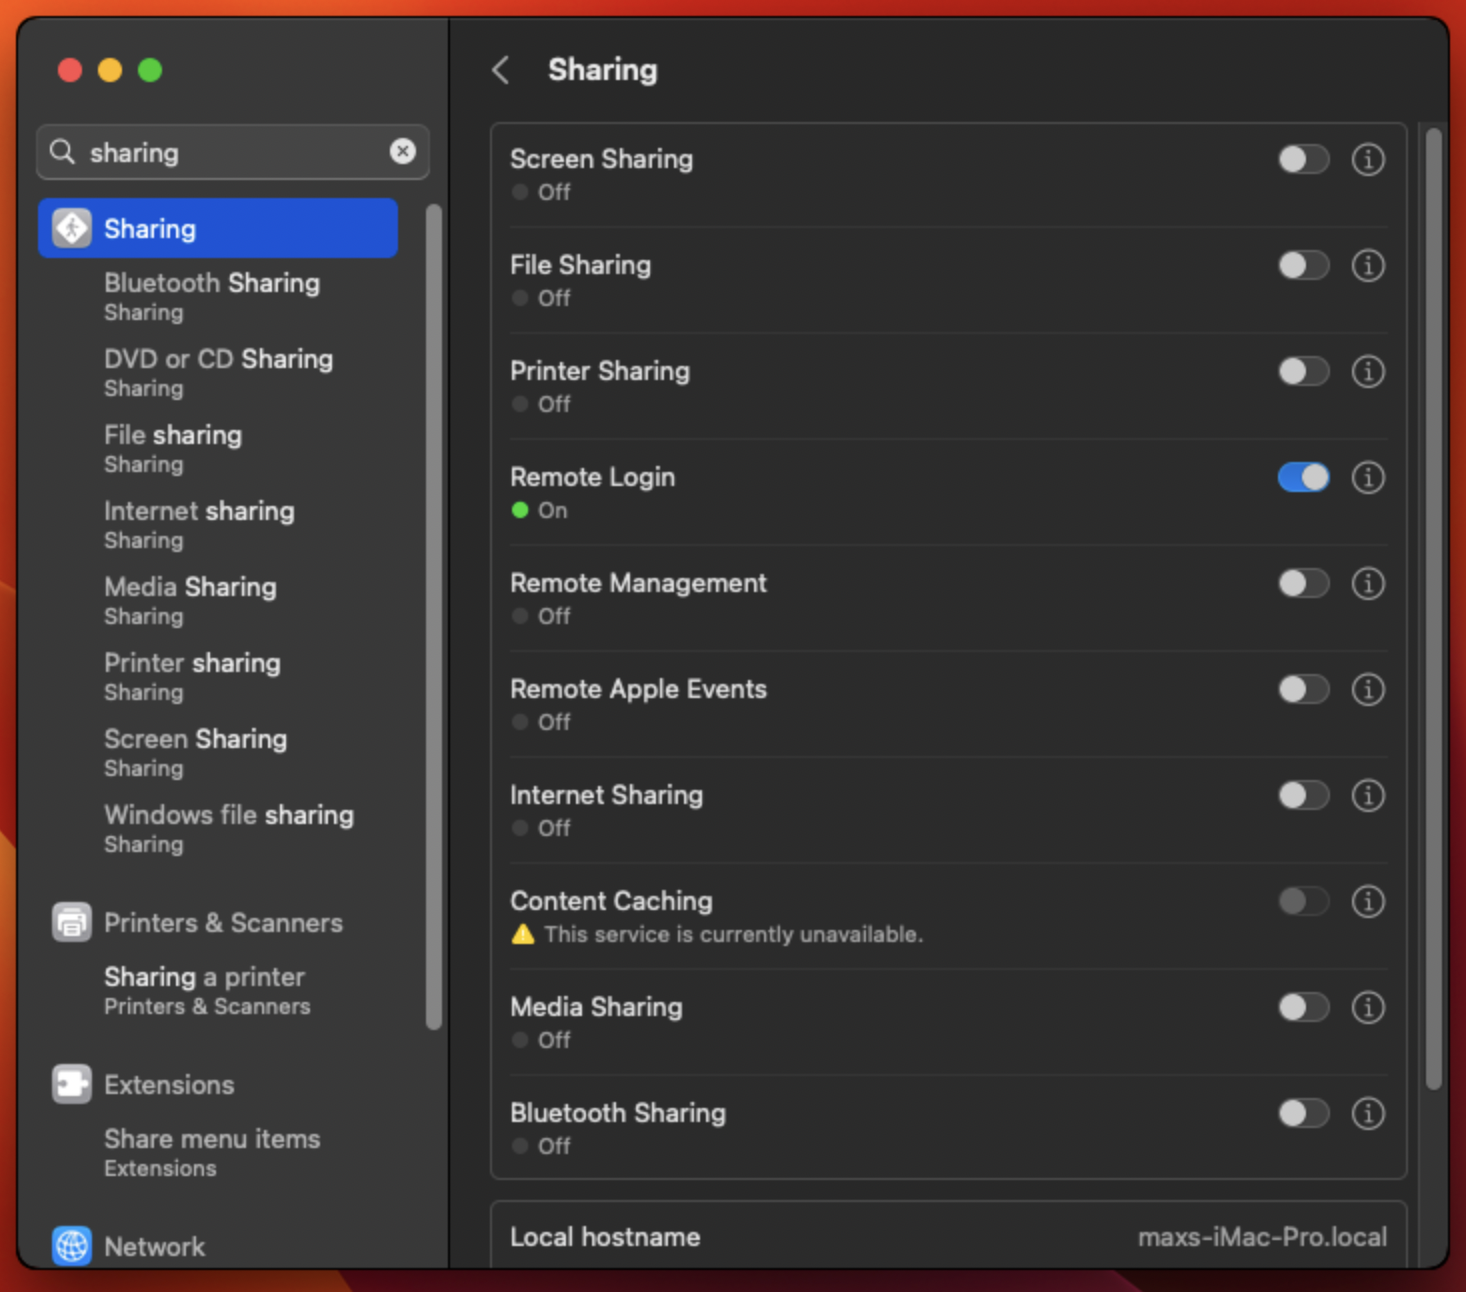
Enable Remote Login
Enabling remote access to your machine, especially on non-private networks is a security risk. Securing MacOS is beyond the scope of this guide, but as a starting point users are advised to disable password authentication for remote login as explained in the article Secure Your macOS Remote SSH Access by Disabling Password Login.
Enable 'Remote Login' from the 'Sharing' menu in System Settings
Connect to the VM over SSH
Use the format
ssh <USER_NAME>@$HOST_ADDRESS -p$VM_SSH_PORT